
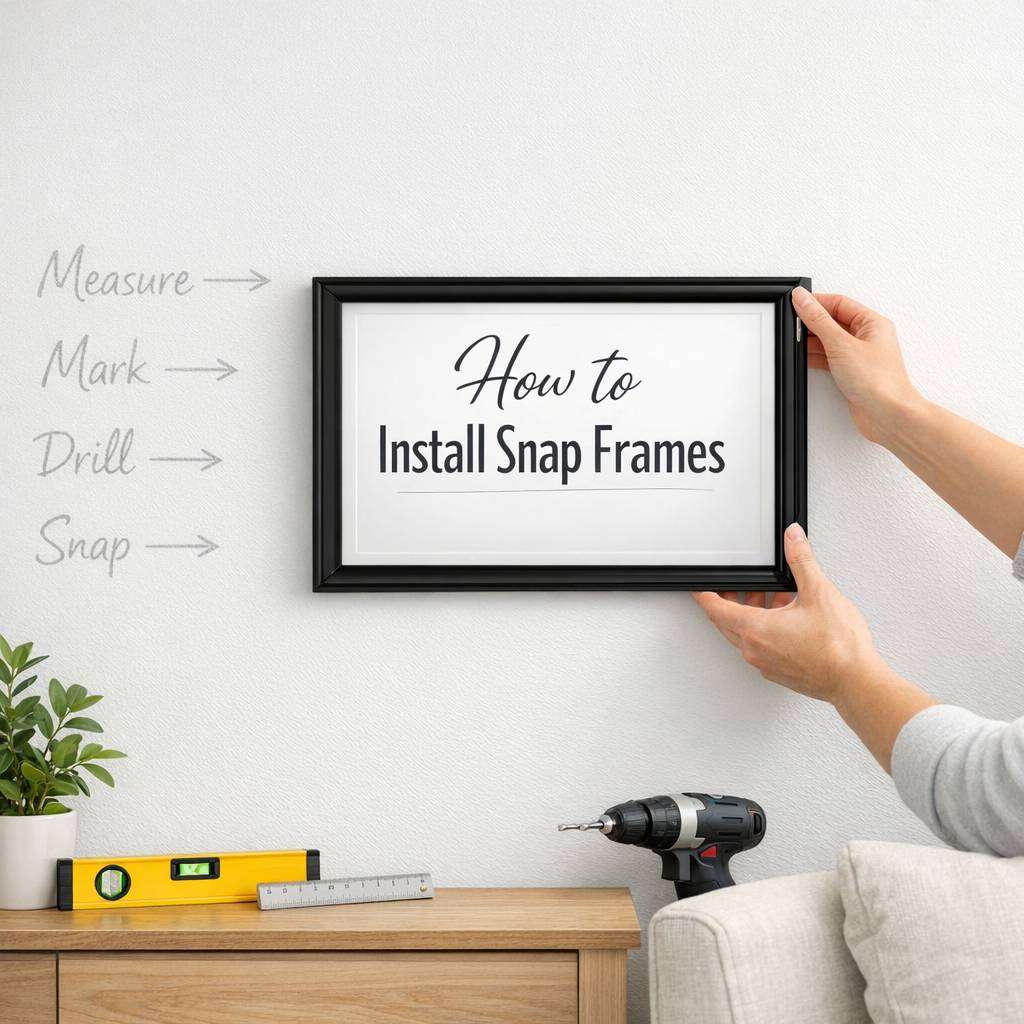
Installing snap frames can transform a space by delivering crisp, gallery-worthy displays with minimal fuss. In this guide, I’ll walk you through the process like a pro, sharing practical tips to ensure your snap frame installation looks tidy, professional, and secure. Whether you’re refreshing a home office, showroom, or hallway, these steps will help you achieve a clean, polished finish.
Snap frames are a simple, versatile display solution for homes, galleries, and offices, offering quick, tool-free changes for seasonal photos and posters. Durable, lightweight designs keep artwork secure while enabling easy rearrangement. For stylish, ready-made options, explore classic and modern styles that suit any decor. snap frames
What is a snap frame and why choose one?
Snap frames are lightweight, easily changeable display frames that hold artwork, photographs, or notices securely behind a glass or acrylic front. The main advantage is the effortless swap-out mechanism: you simply lift the frame’s edge and snap the contents in place. They’re particularly popular in retail environments and homes because they combine a sleek aesthetic with user-friendly maintenance. When mounted correctly, snap frames sit flush against the wall, offering a streamlined look with minimal visible hardware.
Preparing the space and choosing the right frame
Before you begin, take a moment to plan the placement. Measure the wall area where the frame will sit and decide whether you’re mounting one frame or creating a grid of multiple frames. Consider lighting; indirect natural light or wall-mounted spotlights can enhance the display without glare. When selecting a snap frame, pay attention to:
- Frame size: ensure it matches the artwork or document dimensions, plus a slim border for a modern look.
- Depth: check that the frame can accommodate the contents, particularly if you use thicker prints or mats.
- Mounting type: most snap frames use wall screws or adhesive mounts. If you’re renting or prefer a non-permanent option, look for 3M command strips or similar products.
Having every component ready — frame, front cover, backing material, mounting hardware, a spirit level, and a pencil — will make the process smoother.
Marking and positioning for a level installation
Accuracy is key to a clean appearance. Use a pencil to mark the exact screw hole positions on the wall. It helps to:
- Tape a piece of paper or masking tape along the intended line to prevent the wall from being marked.
- Use a spirit level to ensure the top edge is perfectly horizontal.
- Double-check the frame’s vertical alignment if you’re creating a multi-frame grid.
If you’re mounting multiple snap frames, lay them out on the floor first to preview the arrangement before putting holes in the wall. A chalk line can be handy for longer runs of frames.
Drilling, fixing, and securing your snap frame
For brick or concrete walls, you’ll need wall plugs suitable for masonry and longer screws. For stud walls, you can anchor into timber studs for a more robust mount. Here’s a step-by-step approach:
If you’re opting for adhesive mounting (useful for light frames or rental spaces), ensure the surface is clean and dry. Apply the adhesive strips or pads according to the manufacturer’s instructions, pressing firmly for the recommended duration. Note that adhesive mounts may have weight limits and aren’t always ideal for very thick prints.
Inserting the content and achieving that clean look
A snap frame’s appeal lies in the crisp, uninterrupted front. Follow these tips to keep it pristine:
- Use glass cleaner on the front carefully to avoid streaks. Wipe with a lint-free cloth.
- Align artwork or photos with the frame’s edges before securing the back.
- Place a backing board behind the print to prevent sagging and ensure a snug fit.
- When closing the snap frame, work from the corners to avoid the front edge bending inward.
- If you’re swapping content regularly, consider using a dedicated poster or print sleeve to keep the print immaculate and free from fingerprints.
For a more seamless look, opt for frames with a very slim border or a colour that complements the room’s decor. Matte black, white, or natural wood finishes tend to pair well with most interiors and minimise visual interruptions.
Maintenance and style tips for a lasting impression
Once installed, a snap frame should remain low-maintenance while continuing to look sharp. Here are some quick tips:
- Dust the frame regularly with a soft microfiber cloth. Avoid abrasive cleaners that could scratch the surface.
- Check the screws or adhesive straps every few months, especially if you’re in a high-traffic area or if the frame is near a busy corridor.
- When updating content, keep the print clean and free from dust to preserve the frame’s crisp appearance.
- If you’re assembling a grid of snap frames, maintain consistent gaps to preserve a disciplined, gallery-like rhythm.
If you’re working with a collection of frames, varying the heights slightly can add visual interest, but ensure the alignment remains clean and orderly. A well-executed layout often looks more sophisticated than a perfectly symmetrical grid, depending on the space.
Troubleshooting common issues
- Frame sits unevenly: re-check the wall anchors and ensure the frame is level. Uneven walls or misaligned screws are usually the culprit.
- Front cover won’t snap securely: ensure the backboard is fully seated and that the corner clips aren’t bent.
- Glare or reflections: consider anti-glare glazing or repositioning the frame to reduce reflective hotspots.
By following these steps, you’ll achieve a tidy, professional-looking display with snap frames that invite admiration rather than attention to the hardware. Whether you’re showcasing family memories, inspirational quotes, or product collateral, the right installation makes all the difference.